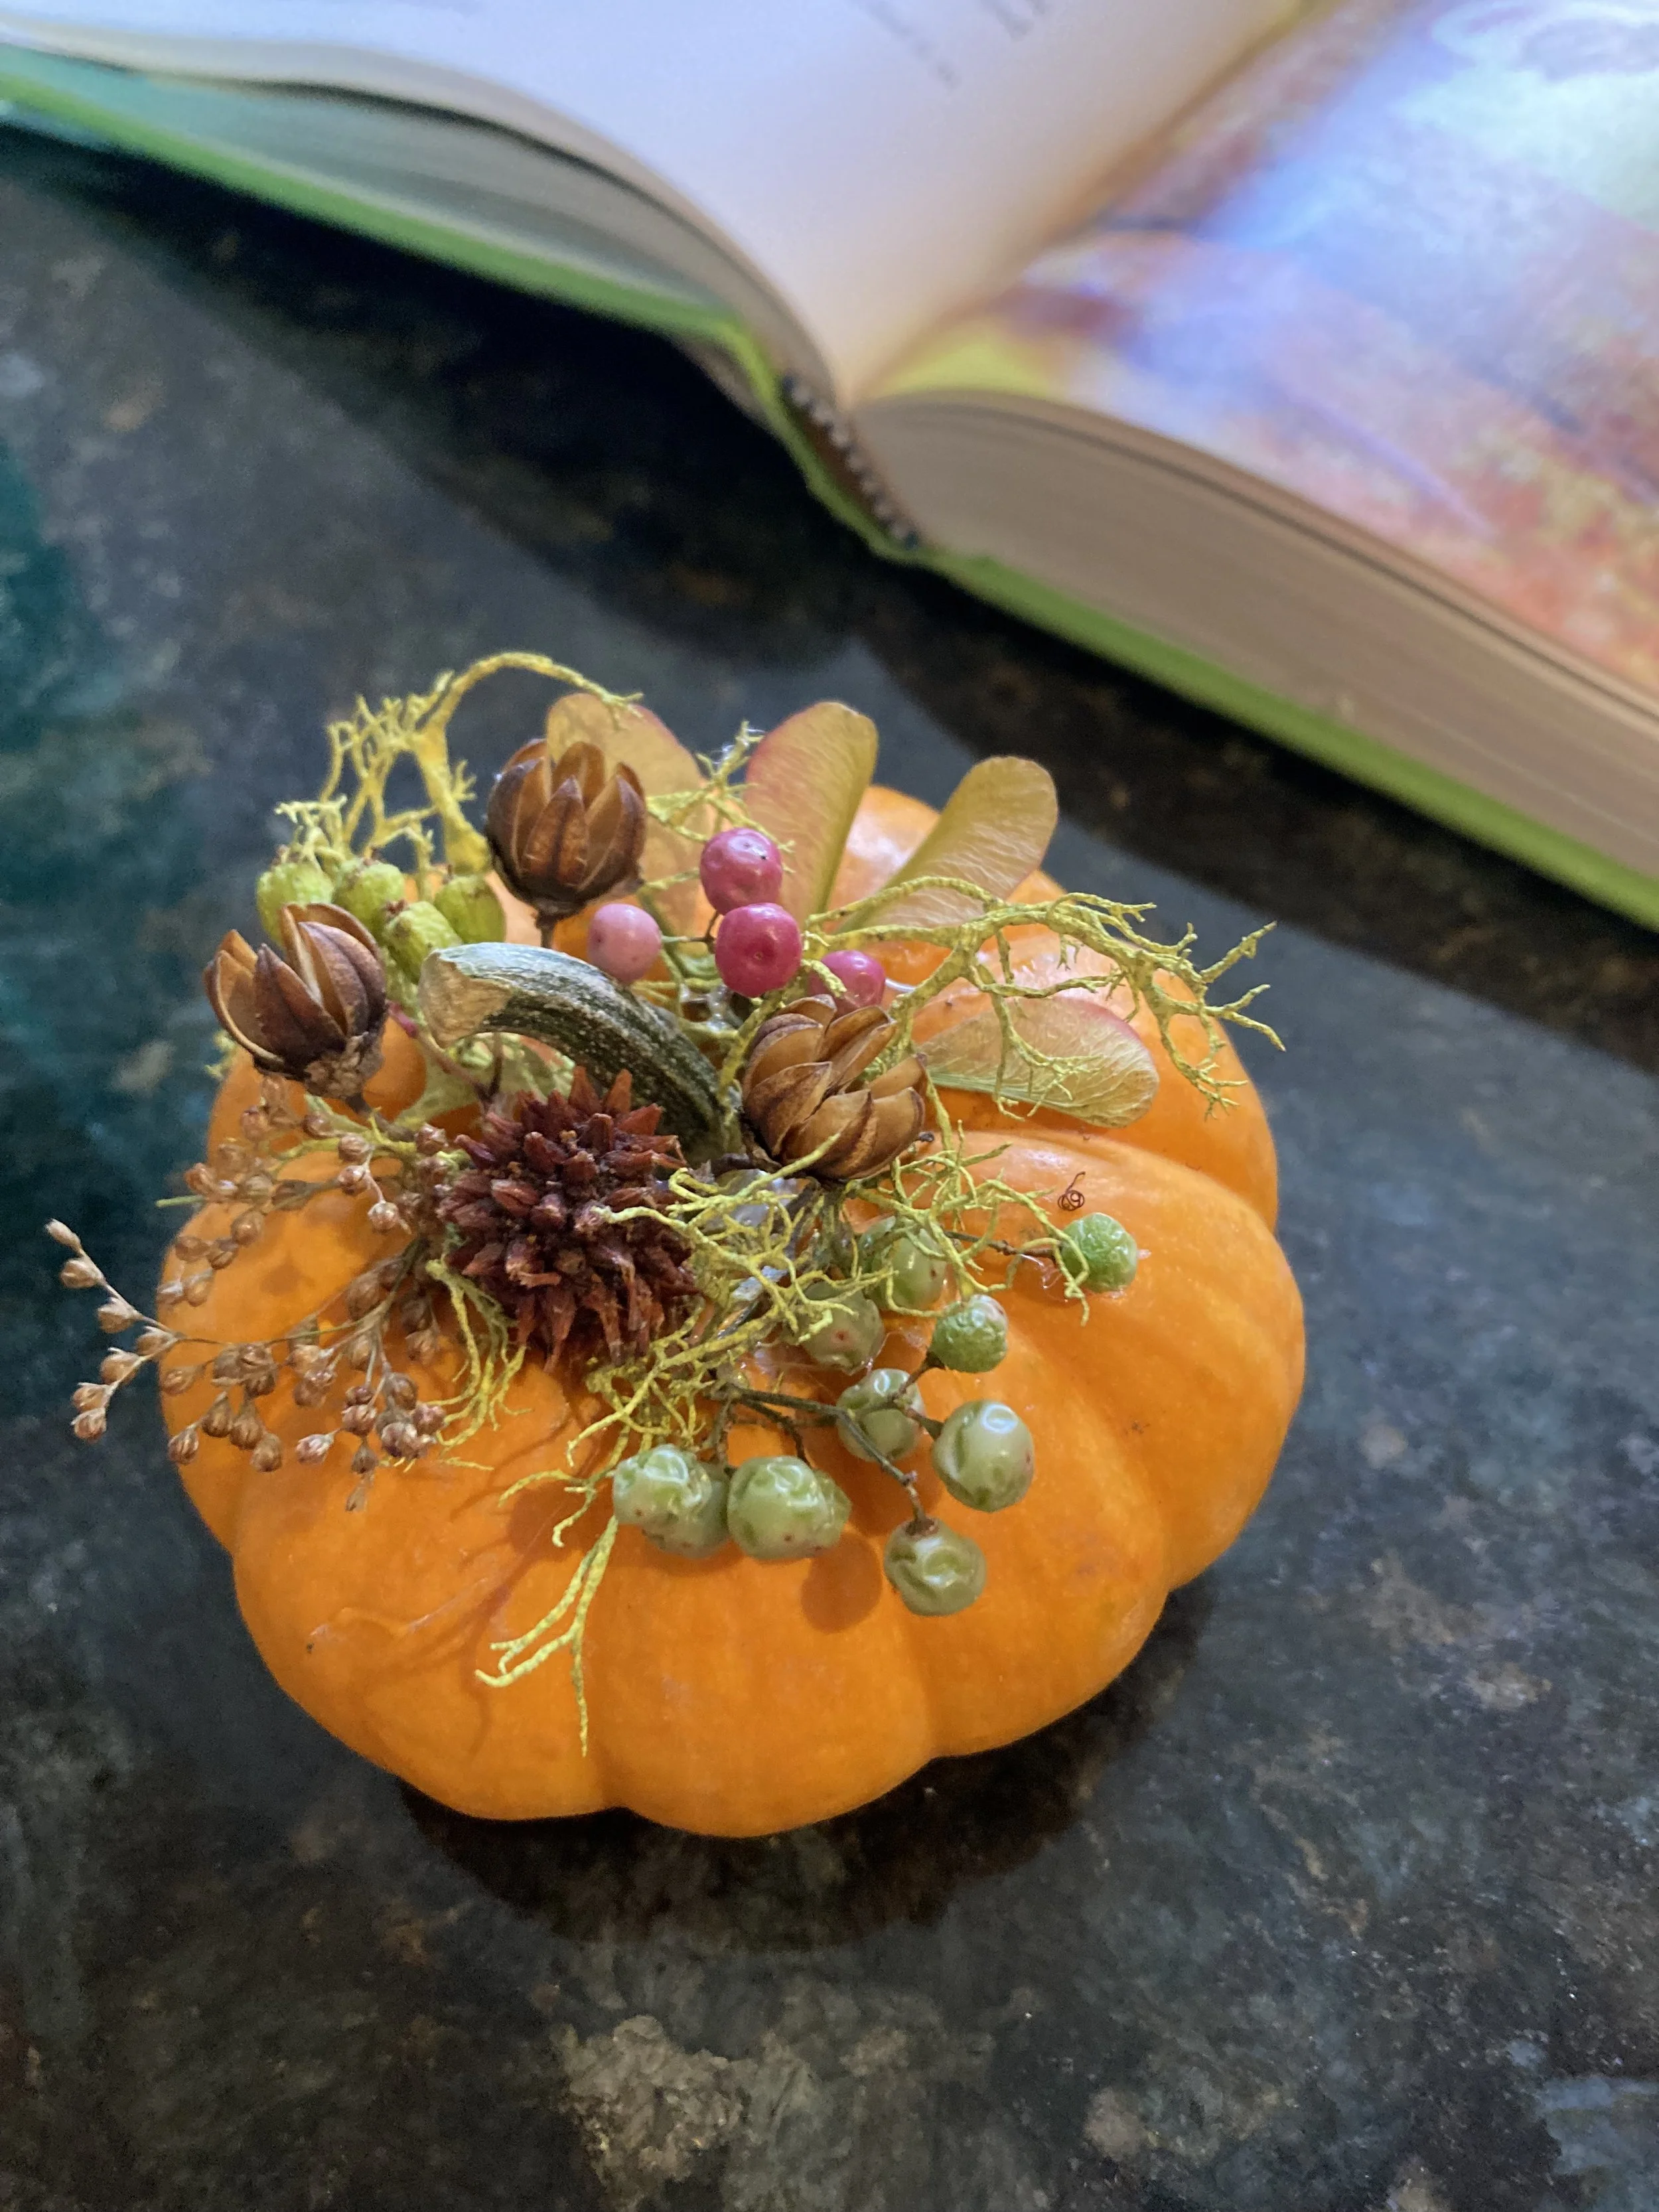
Decorative Floral Pumpkin Craft
Written by: Mika Deshotel
Decorating mini pumpkins is an easy and beautiful way to embrace the autumn season, bringing a touch of nature and creativity into your home. Finished pumpkins can be given as thoughtful gifts, used as a charming centerpiece for your coffee table or bookshelf, or even serve as a little source of inspiration on your desk, adding warmth and personality to any space. The best part of this craft is gathering natural materials—like dried flowers, leaves, acorns, and seeds—which can turn foraging into a meditative practice, helping us slow down, notice the beauty around us, and cultivate a deeper appreciation for the small wonders of nature.
Take an afternoon to enjoy this simple and lovely activity, whether by yourself for some peaceful reflection or with a friend for shared creativity and connection. It’s a wonderful way to celebrate the season, nurture your imagination, and create something that brings joy and beauty into your everyday life.
Below is a list of materials you’ll need along with step-by-step instructions to help you create your own beautifully decorated mini pumpkins.
Materials:
Mini or sugar pumpkins (make sure to buy ones with the stems intact). Trader Joe’s has the best deals if you can get them there
Silica sand for drying flowers and leaves (Brands like Activa silica gel or Ashland can be purchased at Michael’s or other craft stores)
Hot glue gun
Tweezers
Organic materials for glueing onto your pumpkin (eg., small flowers like spray roses, dried hydrangeas, leaves, pinecones, pods, seeds, or tiny berries). Some items can be glued as is if they are fairly dry, others (like leaves and small flowers) should be dried in the silica sand for a day or two to dry out while still maintaining their color
Step-by-step instructions:
Begin by gathering all of your materials and laying them out on a covered table or other flat surface. The most time consuming part is going to be foraging for organic materials and taking some time to dry them out (or opting to purchase dried materials from your local craft store or nursery)
Plug in your hot glue gun and allow it to warm up
Select a pumpkin and a couple of your decorative materials to begin laying atop your pumpkin. Begin with twigs, leaves, or mosses as the first layer, then add a pop of color or texture with a flower or pinecone
Carefully attach each item to your pumpkin top using little dabs of hot glue, making up the final arrangement as you go. Don’t worry if you can see the glue peeping out from beneath your items, you can always add more elements to fill such spaces or use your tweezers at the end to pull off any excess glue. The tweezers are also great for pulling off glue strings!
Don’t worry about achieving a 360 degree look right off the bat! Some arrangements may look best from one angle, and that’s okay! There is no wrong way to decorate your pumpkin!
Allow your pumpkin some time to dry before snapping photos and sharing them with friends and loved ones- or placing them around your own home for some beautiful fall-inspired decor!
This article was inspired by the floral pumpkin master, Catherine Ono!


